Thursday, April 30, 2015

Say Yes to the Dress

I do alterations- lots and lots of them, especially at this time of year. Most of the alterations I do are on formals for proms and weddings. Some dresses just need a tuck here and there or a quick hem. Others need major work that could have been averted by educated shopping. As someone who spends much of her time fixing problems, I would like to offer some suggestions before you head out to the local Bridal Shop.

-Consider Style. Just because something is stylish doesn’t mean it will look good on you, even if you have a great figure. If you have an uncommon figure type a mass produced wedding dress might not work for you at all.

-Choose the shop with care. Everyone has a reputation, either good or bad. Look into shop policies and sales techniques. Educate yourself before you start looking at dresses. Some of the smaller shops have a surprisingly nice, carefully curated inventory. They aren’t necessarily more expensive than a chain, and the service is often better.

-Does it come in your size? A sales clerk tried to convince my size 0 niece that they could easily cut a size 6 dress down to fit her. Fortunately her mother knew enough about garment construction to see it was a bad idea. She successfully purchased a dress direct from China in her size (more on that below).


-How is the dress constructed- will alterations be easy or extremely difficult? If you find yourself in love with a dress that will need alterations no matter what size you buy, look into this before you sign on the dotted line. Come back with a friend or professional who knows enough about alterations to figure this out by looking inside the dress. Some shops push women to buy a dress a size larger than the one they tried on. I recently altered one of these dresses. The size 2 bride who tried on a size 2 dress that fit perfectly was pushed into ordering a size 4 dress. When it arrived it was (no surprise) too big. That was when she learned it would cost her $150 for alterations- not counting the bustle on the train. She left, furious, and was directed to me by a relative. When I looked inside the gown, I saw that it had been made to be altered both up and down. Even if she had gained 20 lbs the size 2 would have worked just fine. Sometimes the opposite is true, though.

-Hemline details. Does the dress have hemline details or embroidery that you love? Will you lose those details if the dress needs to be hemmed? A young woman I knew bought a dress just for the embroidery designs around the hem. She is 5’ tall, and the dress was designed for a person 5’ 11”. The only way to raise the hem on this dress was from the bottom, but no one at the shop mentioned that to her, and her purchase was not refundable. In the end she wore the highest heels she could walk in and I built her a Cinderella style petticoat that lifted her skirt up and out. We still lost about an inch of the embroidery.

-Don’t buy under pressure. If you have any doubts or the dress costs more than you had planned to spend, write down the model number of the dress and think it over. If you are ordering a dress, a day or two won’t make any difference. Sometimes the dress can be ordered from the store's website. At one bridal chain I am familiar with, nothing purchased in the store can be returned, though items purchased on their website can be, and arrive in a fraction of the time of dresses ordered through the store.

-Ask questions about in shop alterations. Ask who will pin up the alterations and what experience and training she has in this area. Most alterations are pinned by sales clerks who have never sewn a stitch in their lives, not by the seamstress who will do the work. I have repinned and repaired some of these. Very few shops have someone on the premises to do the actual work. It is generally sent out to area seamstresses. Check with a local seamstress to see what she would charge you.

-Many shops have marked down or discontinued models. This means you buy straight off the rack. If you are an easy to fit size, you might be able to save a lot of money this way.

If you are not satisfied with your bridal shop experience or want to avoid it entirely, there are other options.

-Direct order from China. Do this only with the greatest care and plenty of research. There are lots of horror stories out there. I do know two people who bought their wedding dresses this way and were very satisfied. I have altered other direct from China dresses that were horribly made, and/or several sizes too small. Nearly all mass produced wedding dresses are already made in China and ordered from there by the dress companies. The dress companies vet the Chinese dressmakers they use and can demand a higher level of quality. If you buy direct from China, you have to do that work yourself. This dress was a successful direct order, requiring only a hem.


-Check out formal garments at department stores and online outlets. The prices and selections are often better, as are return policies.

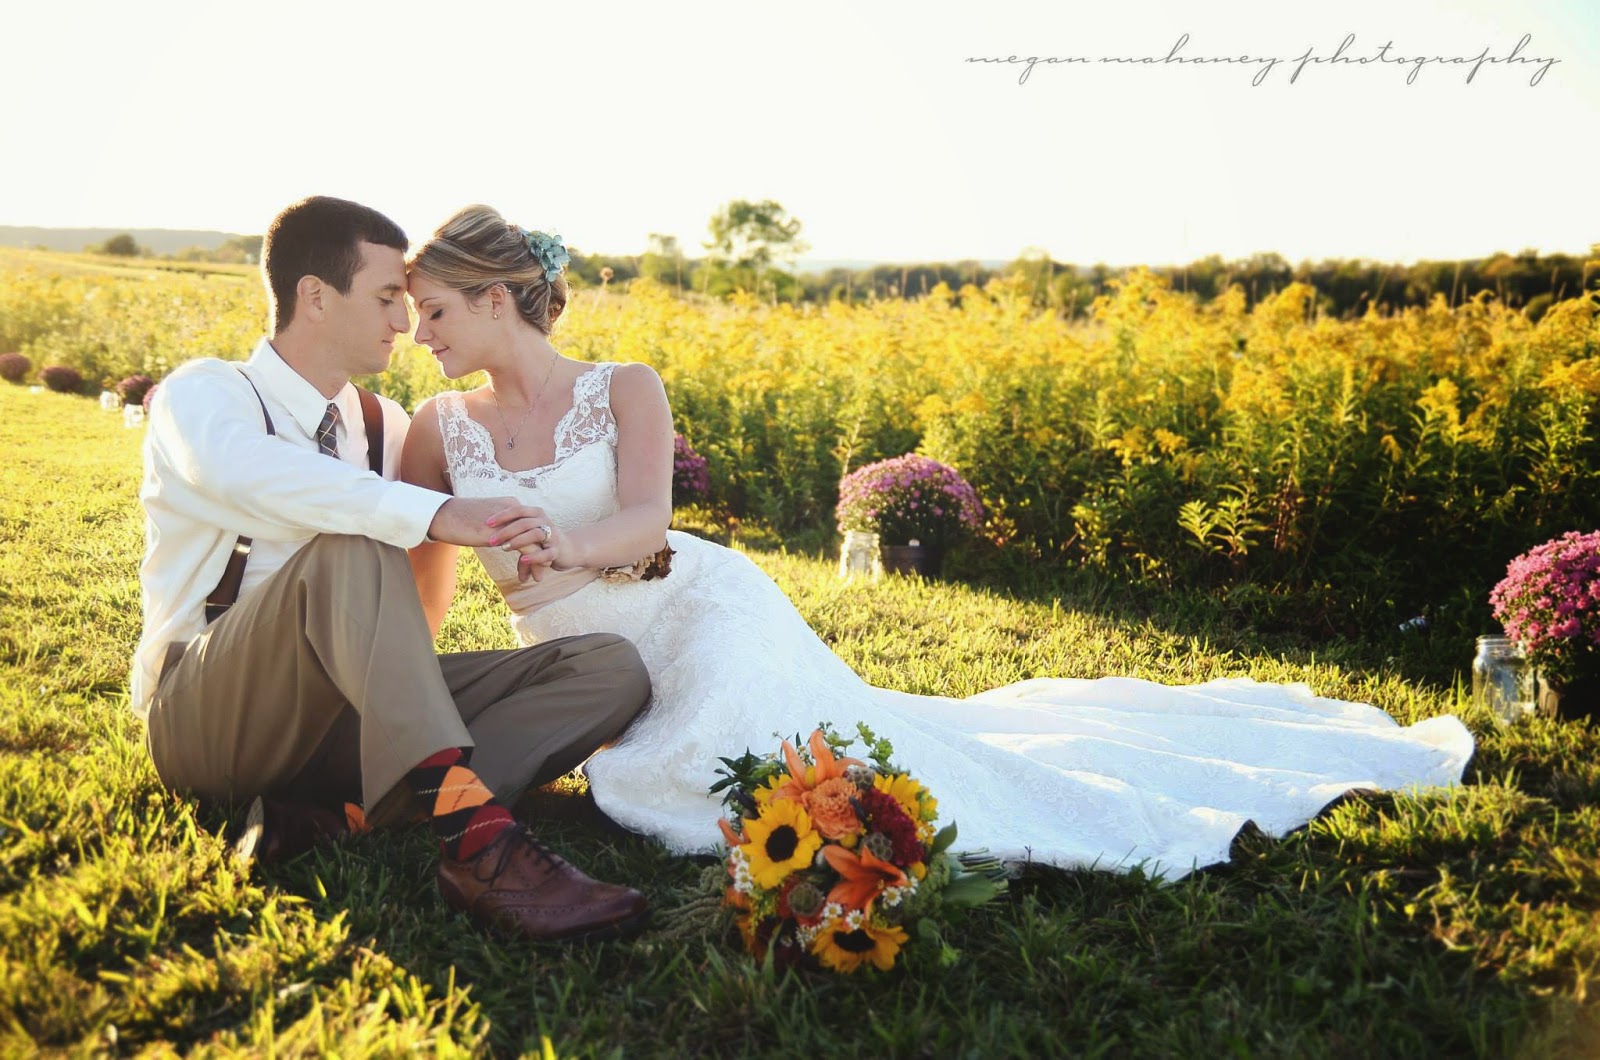
-Buy a lightly used dress. Wear your grandmother’s dress, or shop thrift stores, Craigslist, Ebay, and Etsy sellers. There are a lot of beautiful gowns out there that have only been worn once. I did minimal alterations on this beautiful, lightly used dress a couple years ago.


-Get a vintage dress “remodeled” and updated to suit you. I recently remodeled a vintage dress from the 1940's. To see what is involved, read my blog about it.


-Have your dress custom made. This will not cost less, but if you are hard to fit or want something unique it is the best option. The bride I made this dress for is very tall.


This couple wanted a Medieval Wedding, and she was not a standard size, so a custom dress was the way to go. Read my blog about it here.


And this bride knew exactly what she wanted.


Happy Shopping, and I hope you find the perfect dress.


When she's not blogging, Nancy does alterations, makes custom wedding gowns, clothing, and costumes. She also operates three etsy stores- Embroidery as Art, Retro Sewing Patterns, and Great East Emporium. Follow her on Pinterest to see what inspires her.


Wednesday, April 22, 2015

Make a Man's Tailcoat the Easy Way

Do you need a man's tailcoat for a play, historical, or steampunk event? Do you have basic sewing skills? If so, creating a man's tailcoat is easily within your grasp.

I start with a thrift store suit coat. The coat should fit it's intended wearer well in the shoulders. Fully lined coats are best. Avoid coats with patch pockets, as you will have to remove them and sometimes the fabric underneath the pocket is darker, or otherwise leaves a mark. A jacket without a vent in the back will make your job even easier.

Have someone put the coat on for you, and mark the desired front length. This is usually 1"- 2" above the welt pocket. You can complete the marking while the jacket is on the person, or place it neatly on a table, front side up. Using a piece of tailor's chalk, draw a line straight back from the center front to the side front seam. From this point, curve the line down around the welt pocket, and just before you get to the side seam, drop it down a couple inches. Repeat on the other side and join your lines in the back. Align the coat layers so that they are perfectly smooth. Pin generously above and below the lines. 


Cut through all the layers about 1/2" below your chalk line. The only section you discard is the area around the welt pocket.


Save what you cut off for the tails. If your jacket, like this one, did not have a back vent, cut it in half to create two tails. If it had a back vent you will either have two pieces or one piece that is partially attached which will need to be detached and trimmed. 


Press all layers to the inside of the jacket on the chalk line and pin in place.
Insert the tails between the lining and outer layers of the jacket back, with the curved corner facing out. Pin in place. Top stitch all the way around with matching thread.


The jacket pictured below only had a front lining, but was otherwise perfect so I opted to use it. The brown binding was used to finish the seams and the hems, so you can see that the bottom edge of the original jacket faces outward on the tails.


Instead of inserting the tails between the layers, I hemmed the back of the jacket and attached the tails with two layers of stitching about an inch apart to make them hang better. I overlapped these a little. It looks nicer, I think, unless there is too much bulk.


And here it is on the hanger. Many thanks to my friend Katie for taking this series of pictures for me.


I usually remove all the sleeve buttons (as that is a modern thing) and put buttons over the buttonholes. It is also possible, with a good steam iron and a little patience, to reshape the collar and change the size of the lapels.


You can add stripes, extra buttons, cuffs, and epaluettes for different character and military looks. 


There are usually more colors available in ladies clothing, so don't restrict your hunt for the right color jacket to the men's department. If the coat is the right size in the shoulders you are probably good. Occasionally the sleeves of ladies jackets are a little short on men. You can either let them down, or wear them with a shirt featuring longer cuffs or ruffles. All of the red jackets I made the guys for Les Miserables came from the ladies department of the Thrift Store.

Once I got a system in place, I could transform a suit jacket into a tail coat in half an hour or less. 


I made a dark green steampunk version for the Wizard in the Wizard of Oz, too.


  To see more photos of these jackets in action, go to my Les Miserables Pinterest Board.

When she's not blogging, Nancy does alterations, makes custom wedding gowns, clothing, and costumes. She also operates three etsy stores- Embroidery as Art, Retro Sewing Patterns, and Great East Emporium. Follow her on Pinterest to see what inspires her.

Thursday, April 9, 2015

The Custom Cutting and Craft Table


The walls of my sewing room hadn't been painted in years. The old cutting table was wobbly, the edge banding was peeling, and there was just too much stuff cluttering my work space. The decluttering was badly needed, the painting was easy, and redecorating is always fun, but I really needed a new cutting table.


I spent a lot of time on Pinterest looking at tables and small space management ideas, as my work room is quite small. In the end, we designed and built a table that fits both my needs and the space. 

We started with two inexpensive Closetmaid 9 cube organizers as the base, and added the fabric drawers. Eighteen new 12" X 12" storage drawers in a sewing room is a huge bonus! 


We purchased a 4' X 8' slab of white laminate at Lowe's for $38. The table top is 40" X 40", with a 24" X 40" leaf on one side for those times when I need more space. Once it was cut to size, we applied edge banding.

applying the edge banding with a hot iron
The unit is reinforced and held together by wood framing, and is mounted on large wheels. It is tall enough to cut and pin on without bending over, and is convenient to sit at on a bar stool. It is small most of the time, but big when I need a large surface. Best of all it is solid as a rock, and does not wobble even a little under the weight of a heavy 60" long bolt of fabric. 


The rest of the room turned out nicely, too, and is functional and efficient. 


Friday, April 3, 2015

The Heirloom Wedding Dress Makeover

Last summer, a soon to be bride brought me a dress that had been worn by both her grandmother and great aunt. She was hoping to continue the family tradition and wear it again. It was yellowed and desperately needed cleaning. It fit her fairly well, but needed significant restyling. She showed me a picture of a dress she liked as a possible model for the makeover. I agreed to give it a go.


Since I knew she wanted the sleeves removed, I  did a laundry test run on one of them. The silk damask cleaned up beautifully. It soaked for 12 hours in a gentle but effective cleaning solution, and after an extra gentle wash and double rinse it was air dried outdoors.

I modernized the shape of the poufy, open at the top darts. We decided to leave the original neck drape in place and I used the sleeves ends to face the armholes. A couple of the buttons on the back were missing, and several had rust stains on them. I used buttons from the sleeves as replacements, restitched every button, and reinforced the button looping from behind, as these buttons were the real deal- no hidden zipper tucked underneath them!


The dress has a very long train, and a piece of it had been clumsily removed to enlarge the bodice for her grandmother. I reshaped the train and rehemmed the remainder of the dress. I added a deep ruffle from her mother's dress to the petticoat she wore underneath it to add fullness.

I also added a 3 point bustle.


She wore it with her mother's veil.


The dress was packed and flown to England for the wedding. Wasn't she beautiful?