Wednesday, April 22, 2015

Make a Man's Tailcoat the Easy Way

Do you need a man's tailcoat for a play, historical, or steampunk event? Do you have basic sewing skills? If so, creating a man's tailcoat is easily within your grasp.

I start with a thrift store suit coat. The coat should fit it's intended wearer well in the shoulders. Fully lined coats are best. Avoid coats with patch pockets, as you will have to remove them and sometimes the fabric underneath the pocket is darker, or otherwise leaves a mark. A jacket without a vent in the back will make your job even easier.

Have someone put the coat on for you, and mark the desired front length. This is usually 1"- 2" above the welt pocket. You can complete the marking while the jacket is on the person, or place it neatly on a table, front side up. Using a piece of tailor's chalk, draw a line straight back from the center front to the side front seam. From this point, curve the line down around the welt pocket, and just before you get to the side seam, drop it down a couple inches. Repeat on the other side and join your lines in the back. Align the coat layers so that they are perfectly smooth. Pin generously above and below the lines. 


Cut through all the layers about 1/2" below your chalk line. The only section you discard is the area around the welt pocket.


Save what you cut off for the tails. If your jacket, like this one, did not have a back vent, cut it in half to create two tails. If it had a back vent you will either have two pieces or one piece that is partially attached which will need to be detached and trimmed. 


Press all layers to the inside of the jacket on the chalk line and pin in place.
Insert the tails between the lining and outer layers of the jacket back, with the curved corner facing out. Pin in place. Top stitch all the way around with matching thread.


The jacket pictured below only had a front lining, but was otherwise perfect so I opted to use it. The brown binding was used to finish the seams and the hems, so you can see that the bottom edge of the original jacket faces outward on the tails.


Instead of inserting the tails between the layers, I hemmed the back of the jacket and attached the tails with two layers of stitching about an inch apart to make them hang better. I overlapped these a little. It looks nicer, I think, unless there is too much bulk.


And here it is on the hanger. Many thanks to my friend Katie for taking this series of pictures for me.


I usually remove all the sleeve buttons (as that is a modern thing) and put buttons over the buttonholes. It is also possible, with a good steam iron and a little patience, to reshape the collar and change the size of the lapels.


You can add stripes, extra buttons, cuffs, and epaluettes for different character and military looks. 


There are usually more colors available in ladies clothing, so don't restrict your hunt for the right color jacket to the men's department. If the coat is the right size in the shoulders you are probably good. Occasionally the sleeves of ladies jackets are a little short on men. You can either let them down, or wear them with a shirt featuring longer cuffs or ruffles. All of the red jackets I made the guys for Les Miserables came from the ladies department of the Thrift Store.

Once I got a system in place, I could transform a suit jacket into a tail coat in half an hour or less. 


I made a dark green steampunk version for the Wizard in the Wizard of Oz, too.


  To see more photos of these jackets in action, go to my Les Miserables Pinterest Board.

When she's not blogging, Nancy does alterations, makes custom wedding gowns, clothing, and costumes. She also operates three etsy stores- Embroidery as Art, Retro Sewing Patterns, and Great East Emporium. Follow her on Pinterest to see what inspires her.

Thursday, April 9, 2015

The Custom Cutting and Craft Table


The walls of my sewing room hadn't been painted in years. The old cutting table was wobbly, the edge banding was peeling, and there was just too much stuff cluttering my work space. The decluttering was badly needed, the painting was easy, and redecorating is always fun, but I really needed a new cutting table.


I spent a lot of time on Pinterest looking at tables and small space management ideas, as my work room is quite small. In the end, we designed and built a table that fits both my needs and the space. 

We started with two inexpensive Closetmaid 9 cube organizers as the base, and added the fabric drawers. Eighteen new 12" X 12" storage drawers in a sewing room is a huge bonus! 


We purchased a 4' X 8' slab of white laminate at Lowe's for $38. The table top is 40" X 40", with a 24" X 40" leaf on one side for those times when I need more space. Once it was cut to size, we applied edge banding.

applying the edge banding with a hot iron
The unit is reinforced and held together by wood framing, and is mounted on large wheels. It is tall enough to cut and pin on without bending over, and is convenient to sit at on a bar stool. It is small most of the time, but big when I need a large surface. Best of all it is solid as a rock, and does not wobble even a little under the weight of a heavy 60" long bolt of fabric. 


The rest of the room turned out nicely, too, and is functional and efficient. 


Friday, April 3, 2015

The Heirloom Wedding Dress Makeover

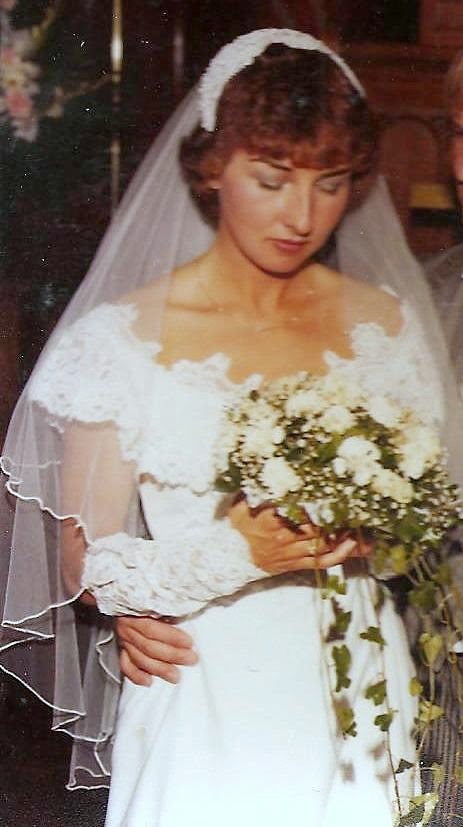
Last summer, a soon to be bride brought me a dress that had been worn by both her grandmother and great aunt. She was hoping to continue the family tradition and wear it again. It was yellowed and desperately needed cleaning. It fit her fairly well, but needed significant restyling. She showed me a picture of a dress she liked as a possible model for the makeover. I agreed to give it a go.


Since I knew she wanted the sleeves removed, I  did a laundry test run on one of them. The silk damask cleaned up beautifully. It soaked for 12 hours in a gentle but effective cleaning solution, and after an extra gentle wash and double rinse it was air dried outdoors.

I modernized the shape of the poufy, open at the top darts. We decided to leave the original neck drape in place and I used the sleeves ends to face the armholes. A couple of the buttons on the back were missing, and several had rust stains on them. I used buttons from the sleeves as replacements, restitched every button, and reinforced the button looping from behind, as these buttons were the real deal- no hidden zipper tucked underneath them!


The dress has a very long train, and a piece of it had been clumsily removed to enlarge the bodice for her grandmother. I reshaped the train and rehemmed the remainder of the dress. I added a deep ruffle from her mother's dress to the petticoat she wore underneath it to add fullness.

I also added a 3 point bustle.


She wore it with her mother's veil.


The dress was packed and flown to England for the wedding. Wasn't she beautiful?


Friday, March 27, 2015

Catching Up With Myself

I went for 13 months without blogging- from September 2013 to October 2014- not because I wasn't doing anything, but because I was doing too much to keep up with the blog. During those months, I did three shows, a couple comicon costumes, and several weddings among other things. As a quick catch up, I thought I would do a photo essay of those 13 months. 

The Gifts of the Magi
November/December 2013


Wedding- January 2014


Les Miserables- March 2014


The Wizard of Oz
May 2014-
with a touch of Steampunk


A Doctor Who costume, including a very long hand knitted scarf


 a Kaylee costume


some awesome aprons and towels for our Annual Honey Harvest Open House


...and another wedding dress, which I blogged about in October 2014.


I left out a lot, but these are the high points. I haven't stopped working, but have slowed the pace a bit. More soon!


Monday, March 16, 2015

The New Baby

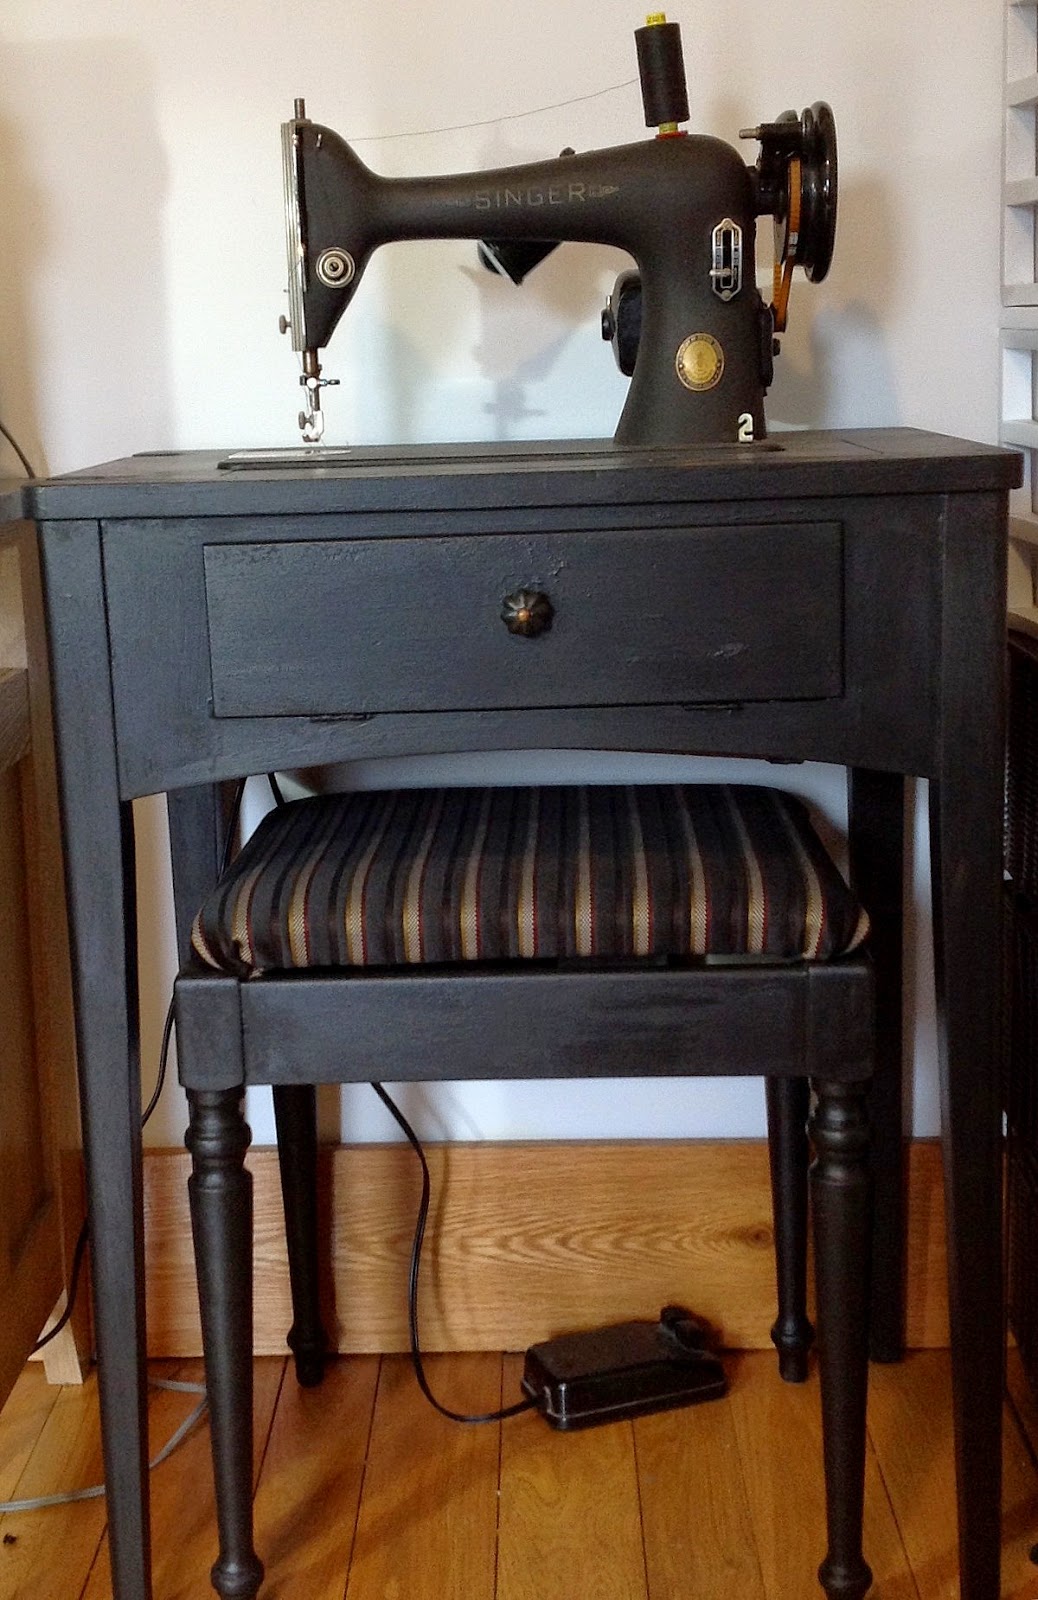
I have a new baby. Well, not exactly new, since it came into being in 1951. It is my grandmother's 50th Anniversary model Singer sewing machine. It was well used for many years, first by my grandmother, then by my mother. I also did a lot of sewing on it myself when I was a teenager. 


I took it in to the shop and had the belt changed, the wiring replaced, and the machine tuned up. It runs like a top. My grandmother was a professional seamstress, and had all sorts of feet and attachments. The two bias binding feet are really impressive looking- I can 't wait to give them a test drive.


The instruction book is still in good shape, too.  


I repainted the cabinet, updated the knob on the drawer, and recovered the seat cushion.


I made room for it next to electronic Bernina #1. I smile every time I look at it, and plan to put many more miles on it.


The acquisition of this machine prompted me to update and make over the sewing room, but I'll save that for next time.

Sunday, October 26, 2014

The Anatomy of a Wedding Dress

Long time, no blog.
I have been plying the needle unceasingly for the past year, too weary and drained to blog. Now that things have settled down a bit, I am ready to get back in the blogging saddle, starting with this custom wedding dress.

The bride fell in love with Carolina Herrera's Monet inspired Water Lily Dress from her 2010 Spring Bridal collection. You can see the runway show here.


The only problem was the time element- I had 6 weeks to make, fit, and deliver the dress. I decided that I was up for the challenge.

We designed her dress to be very much like its inspiration. The waterlily fabric of the original was hand painted especially for the collection and was not available to us, but she found another spectacular Herrera fabric to take it's place.


The biggest challenge was the 500 miles separating the seamstress and the bride. Good measurements are always essential, especially in a closely fitted strapless bodice. The bride found a local seamstress to take measurements and to do fittings on her end. I made a pattern and fitting muslin based on her measurements and mailed it to her. Once it had been fitted I made the lining, which was then shipped out for a fitting. 


 Next came the outside of the bodice.  The organza over bridal satin base was overlaid with a layer of hand pleated organza. Fun fact: there is a total of 64 pieces in the bodice, not counting the boning and cups.
Last but definitely not least came the skirt. One of the unique features of this dress is the blue underskirt that peeks through three layers of organza. They are all attached to the outer bodice.


To save time, I purchased a lightly used petticoat instead of building one. After cutting it to the right length, I attached it to the bodice lining.


After that came the lining, zipper, and putting it all together. I shipped it to the bride, and it arrived 3 days before the wedding. She was stunning in it!